
I started working with Salesforce Marketing Cloud (SFMC) over two years ago. My experience with other Marketing Automation Platforms helped me grasp the concepts of SFMC quite swiftly, however, it was natural for me to compare the tools and capabilities between the platforms, sometimes finding positive enhancements, other times, unfortunately, banging my head against what I would call ‘product gaps’.
Today, we are going to talk about Journey Builder. If you are not familiar with this tool, it is a visual flow that allows Marketeers to create automated multi-touch and multi-channel (Email, SMS, Push Notifications, Ads) customer journeys (think about a welcome campaign for example or an event program).

Here are 5 things I wish I knew before I started.
- There is no “Pause” button.
First lesson learnt: the only way to edit an active (live) journey is to create a new version. While you are working on the new version, records will still flow through the old, but still active version — unless stopped. Once the new version is activated, the previous version status will change to “Finishing”, allowing the current members to complete the journey. Once all members have reached the end and exited the journey, this version status will change to “Stopped” and all new customers meeting the entry criteria will join the new Active version.
What does this mean?
- You cannot pause a journey to make edits and let current members through the new steps, unless your Entry Setting Criteria allows “re-entry anytime”, so at one point in the future, they will re-enter the journey and go through these steps.
- You cannot pause the journey for a period of time and re-activate it, expecting the records to carry on from where they left. An example: NFP organisations dealing with emergencies have the need to prioritise communications and stop all the automations for a certain period of time. However, once the emergency is passed, they should be able to re-start those flows.
The Solution?
Use the `Update Contact Activity` to update a data extension containing SubscriberKey and Stage Column. Use this data extension to track the stages of your records in the journey.
Add the data extension to data designer, to ensure it can be leveraged in Journey Builder.
While building the journey include a “decision split” activity as your first step; configure 1 path per stage (e.g. Path 1 : Stage = 1 ).

Join the paths to the next logical step (e.g. if the stage = 1 it means the record has completed step 1 and should move to step 2).
Complete the configuration by adding the “Update Contact Activity” after each major step (e.g. Send Email 1 -> Update Contact Activity (Stage = 1) -> wait 7 days).


One note, if you are allowing contacts to re-enter the journey track their journey completion (e.g. Stage = completed), so when they will re-qualify to enter the journey they will be able to go through all the steps again. The criteria for the first path will look for the “Completed” or “is Null” stage, to ensure records will progress through all the steps again.
2. SFMC does not do “Merge”.
If you are familiar with Sales Cloud and Pardot, you know these systems allow the merging of records. Marketing Cloud does not. If two records are merged into Sales Cloud and the merged contact is in a Marketing Cloud journey, it will continue to receive communications.
The solution?
Ensure processes are in place to make the Marketing Team aware of any record Contact Id (or the unique identifier you are using as SubscriberKey) that was merged into a surviving record. Note you should provide the marketing team with the dismissed record Id. Next, create a Data Extension, containing the column “SubscriberKey” and add it to data designer.
Import the deleted records ContactId into this data extension on a regular basis, I would suggest automating this process if possible.

As part of your journeys Exit criteria, select the Data Extension you have just created and set the criteria to “SubscriberKey Is not null”; records that have been merged or deleted from Sales Cloud will be automatically removed from the journeys.

In addition, ensure these records are deleted from your All Subscriber List.
3. Before you start, define what you want to measure.
- Are you happy to simply look at email performance or do you want to dig a little deeper?
- Do you want to know how many records entered the journey?
- Do you want to know how many records dropped at stage 1?
- Do you want to know how many records completed the journey?
These metrics are not currently part of the reporting, but you can leverage the Update contact activity functionality as described in Step 1 or alternatively you can create a custom object in Sales Cloud to store Journey History using the “Object Activity”, this will then allow you to leverage data for reporting in Sales Cloud. As part of the Sales & Service Cloud activity, the “Campaign Member” activity can also be used to track statuses within the Journey Builder.

4. Did you add your data extension to Data Designer?
I have mentioned it a few times in the previous steps, but I cannot stress this enough. In order to leverage Data Extensions within Journey Builder you need to link them to the Master Tables in Data Designer.
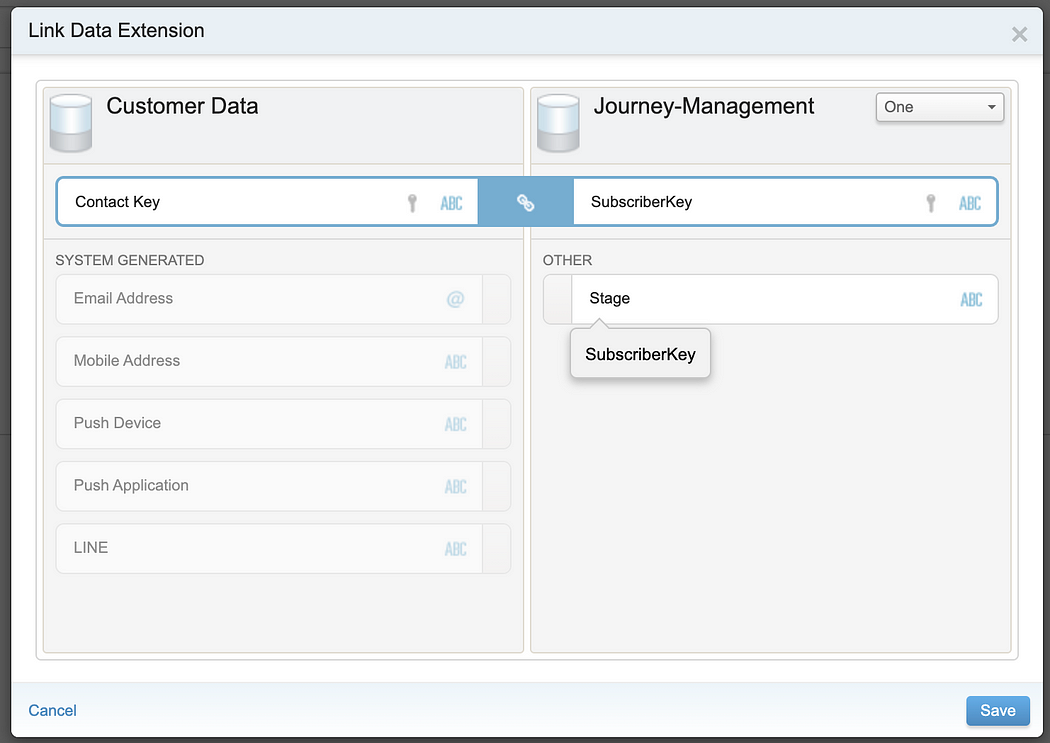
a. In Audience Builder > Contact Builder create a new Attribute Group (I have called mine “Journeys”)

b. Click on “Link Data Extension”

c. Select the data extensions you would like to use in Journey Builder

d. Map “Contact Key” to the SubscriberKey in your data extension and Save
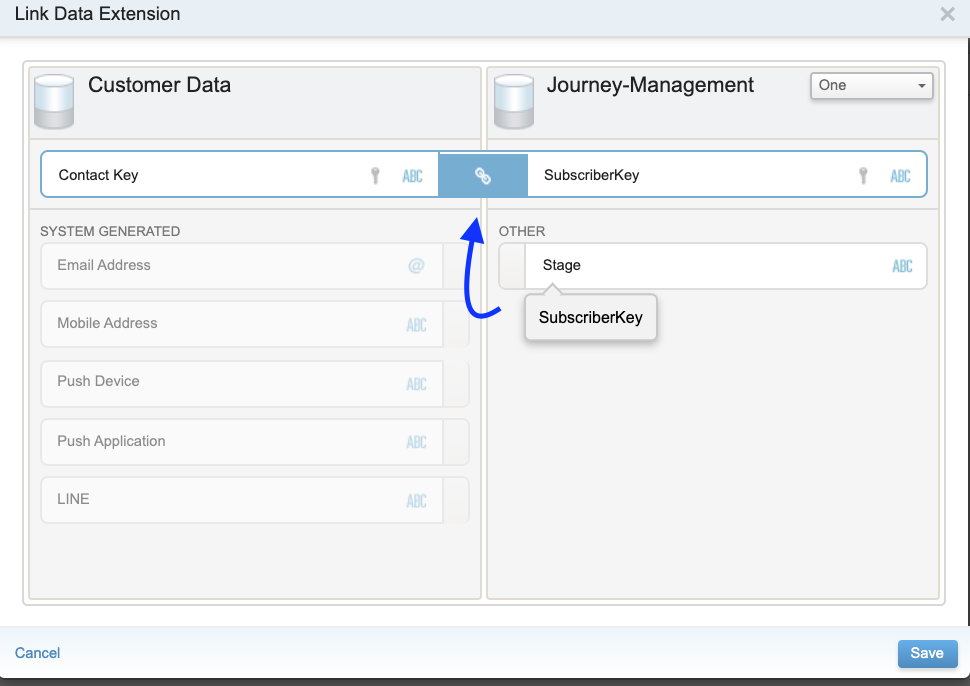
Note you have to refresh the journey builder page, and sometimes log out and back in to view the attribute group and the data extension from your decision splits or update contact activities.
5. How do you do testing?
I recommend cloning your final journey before activating it. You should maintain two versions, especially if you are planning enhancement in the future. Unfortunately, unless you are using Data Extension, you cannot fully test your new journey version without activating it. By maintaining a test version, you will be able to perform tests using a SeedList or tweaking the entry criteria to ensure customers will be excluded from the test. Once happy, the changes can be included in a new version of the live journey and activated to allow new records to join the journey.
Despite the above workarounds, I find journey builder to be one of the most complete automation tools, it includes all of the flow control capabilities marketeers require and as a bonus, it allows for multi-channel communications out of the box, note that other providers do not.
I hope you found these tips useful.

