Salesforce Omni-channel
Omni-Channel is a comprehensive customer service solution that lets your call center route any type of incoming work item including cases, chats, or leads to the most qualified, available agents in your organization. Omni-Channel integrates seamlessly into the Salesforce console.
With Omni Channel, we can configure automatic routing to assign cases to agents through Omni-Channel or configure automatic routing to assign leads to sales people.
Omni-Channel currently supports routing for the following objects and records.
- Cases
- Chats
- SOS video calls
- Social posts
- Orders
- Leads
- Custom objects
Note: Lightning Omni-Channel Routing (Beta) doesn’t support routing for the following objects and records
- Chats
- SOS video calls
In this post, we will learn step by step, how a case can be routed using Omni-channel.
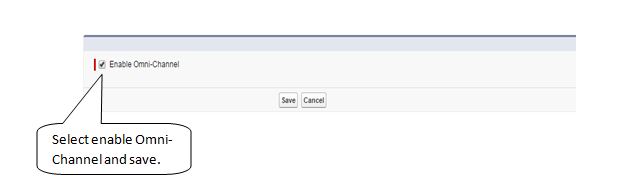
- Enable the Omni-Channel features
From Setup go to Customize > Omni-Channel > Settings.
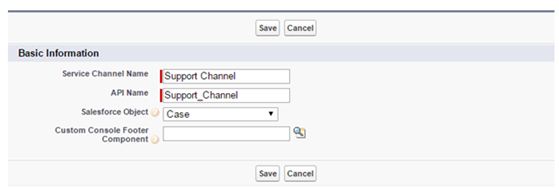
2. Create a Service Channel
From Setup go to Customize > Omni Channel > Service Channels > New
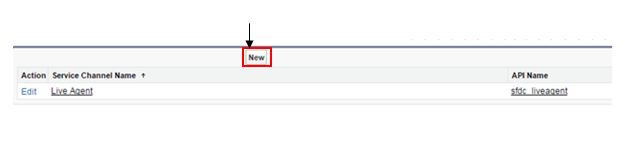 Enter a Service Channel name, API Name and Salesforce objects associated with Service Channel and select case as the Salesforce object. After that click on the Save button.
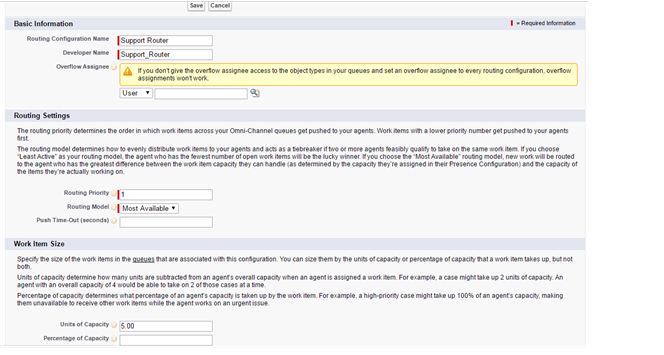
- Routing Configuration
From Setup go to Customize > Omni Channel > Routing Configurations > New

Enter the Routing Configuration name, Developer name, Routing Priority, Routing Model, and Units of Capacity, after click the Save button.
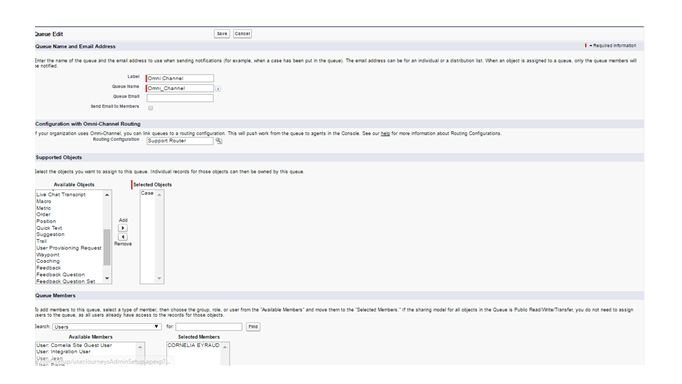
After that we can see the Related Queues section is empty. So we need to create a queue to routing configuration.
For do that, go to Setup Manage Users > Queues> New
Enter the Label, Routing configuration, object of the queue and assign a user, then click save.
4. Agents presence status
From Setup go to Customize > Omni Channel > Presence Statuses > New.

Enter the Status name, API name, Status Options, and select a Service Channel.
Status name: Available – Cases
API name: Available _ Cases
Status Options: Online
Service Channel: Cases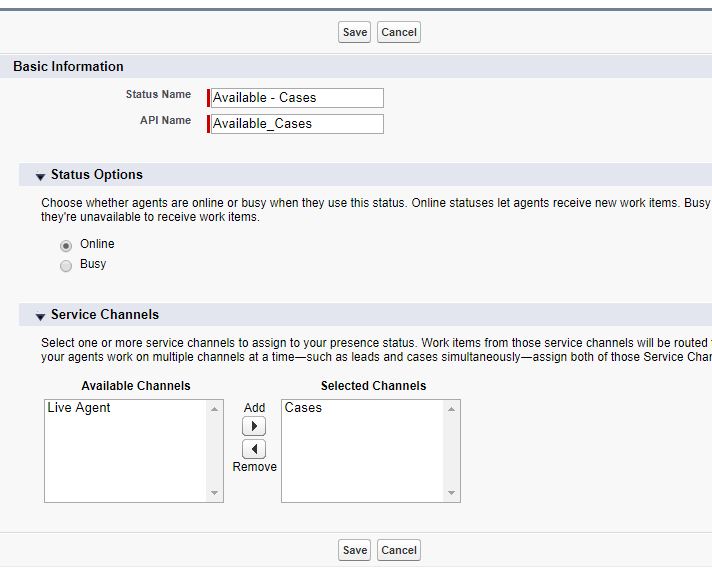
Click Save.
Add presence status to users that you want them use this feature.
You will need to create a new presence configuration with different profile types and users for your organization.
For that go on: Customize > Omni Channel > Presence Statuses > New
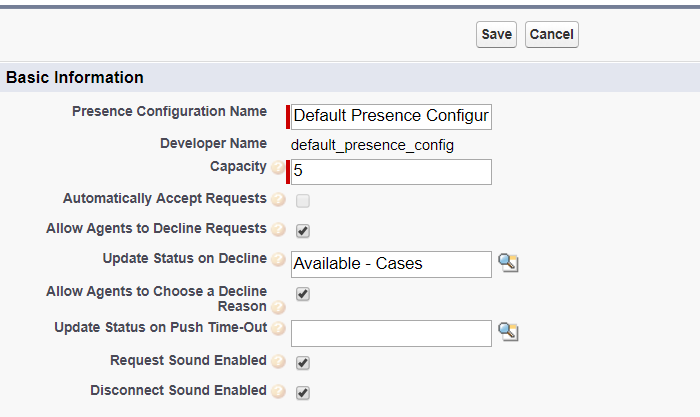
Salesforce by default creates a presence configuration for fast implementation for a given profile. Click the edit option in Default Presence Configuration and fill in the Presence Configuration name, Developer Name, and define the capacity for the agent. Capacity is the individual capacity for each agent. Select whether the given requests are automatically accepted. If you choose this option, you can’t select Allow Agents to Decline Requests. If you select the Allow Agents to Decline Requests option, you can’t choose Automatically Accept Requests option.
Grant users access to Presence Statuses permission in Profiles : Go to Setup, Manage Users and Profiles.
Choose the Profile you want to give access to presence statuses
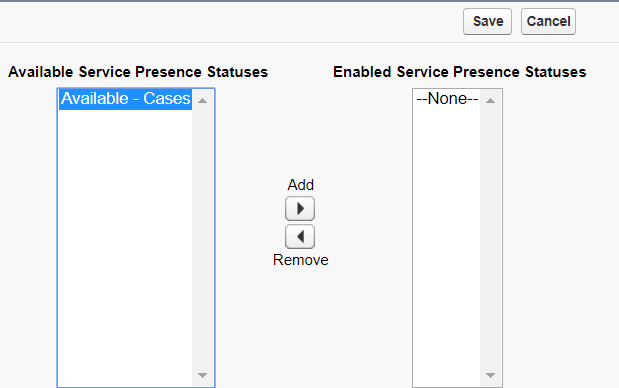
Click edit on Enabled Service Presence Status Access.

Select the Presence Status you want to include it in the Profile, and Click Save.
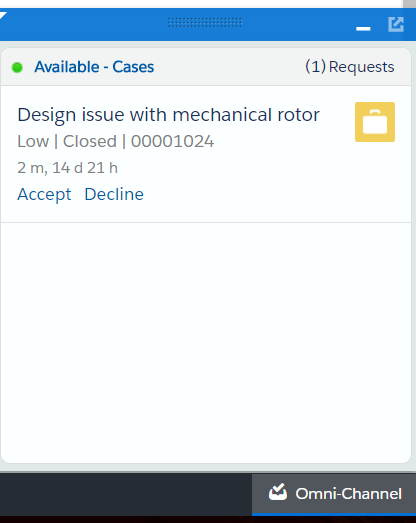
5. Omni-Channel widget
- From Setup, enter Apps in the Quick Find box, then select Apps.
- Click Edit next to the Salesforce console app.
- In Console Components section, add Omni–Channel to your list of selected items.
- Click Save.